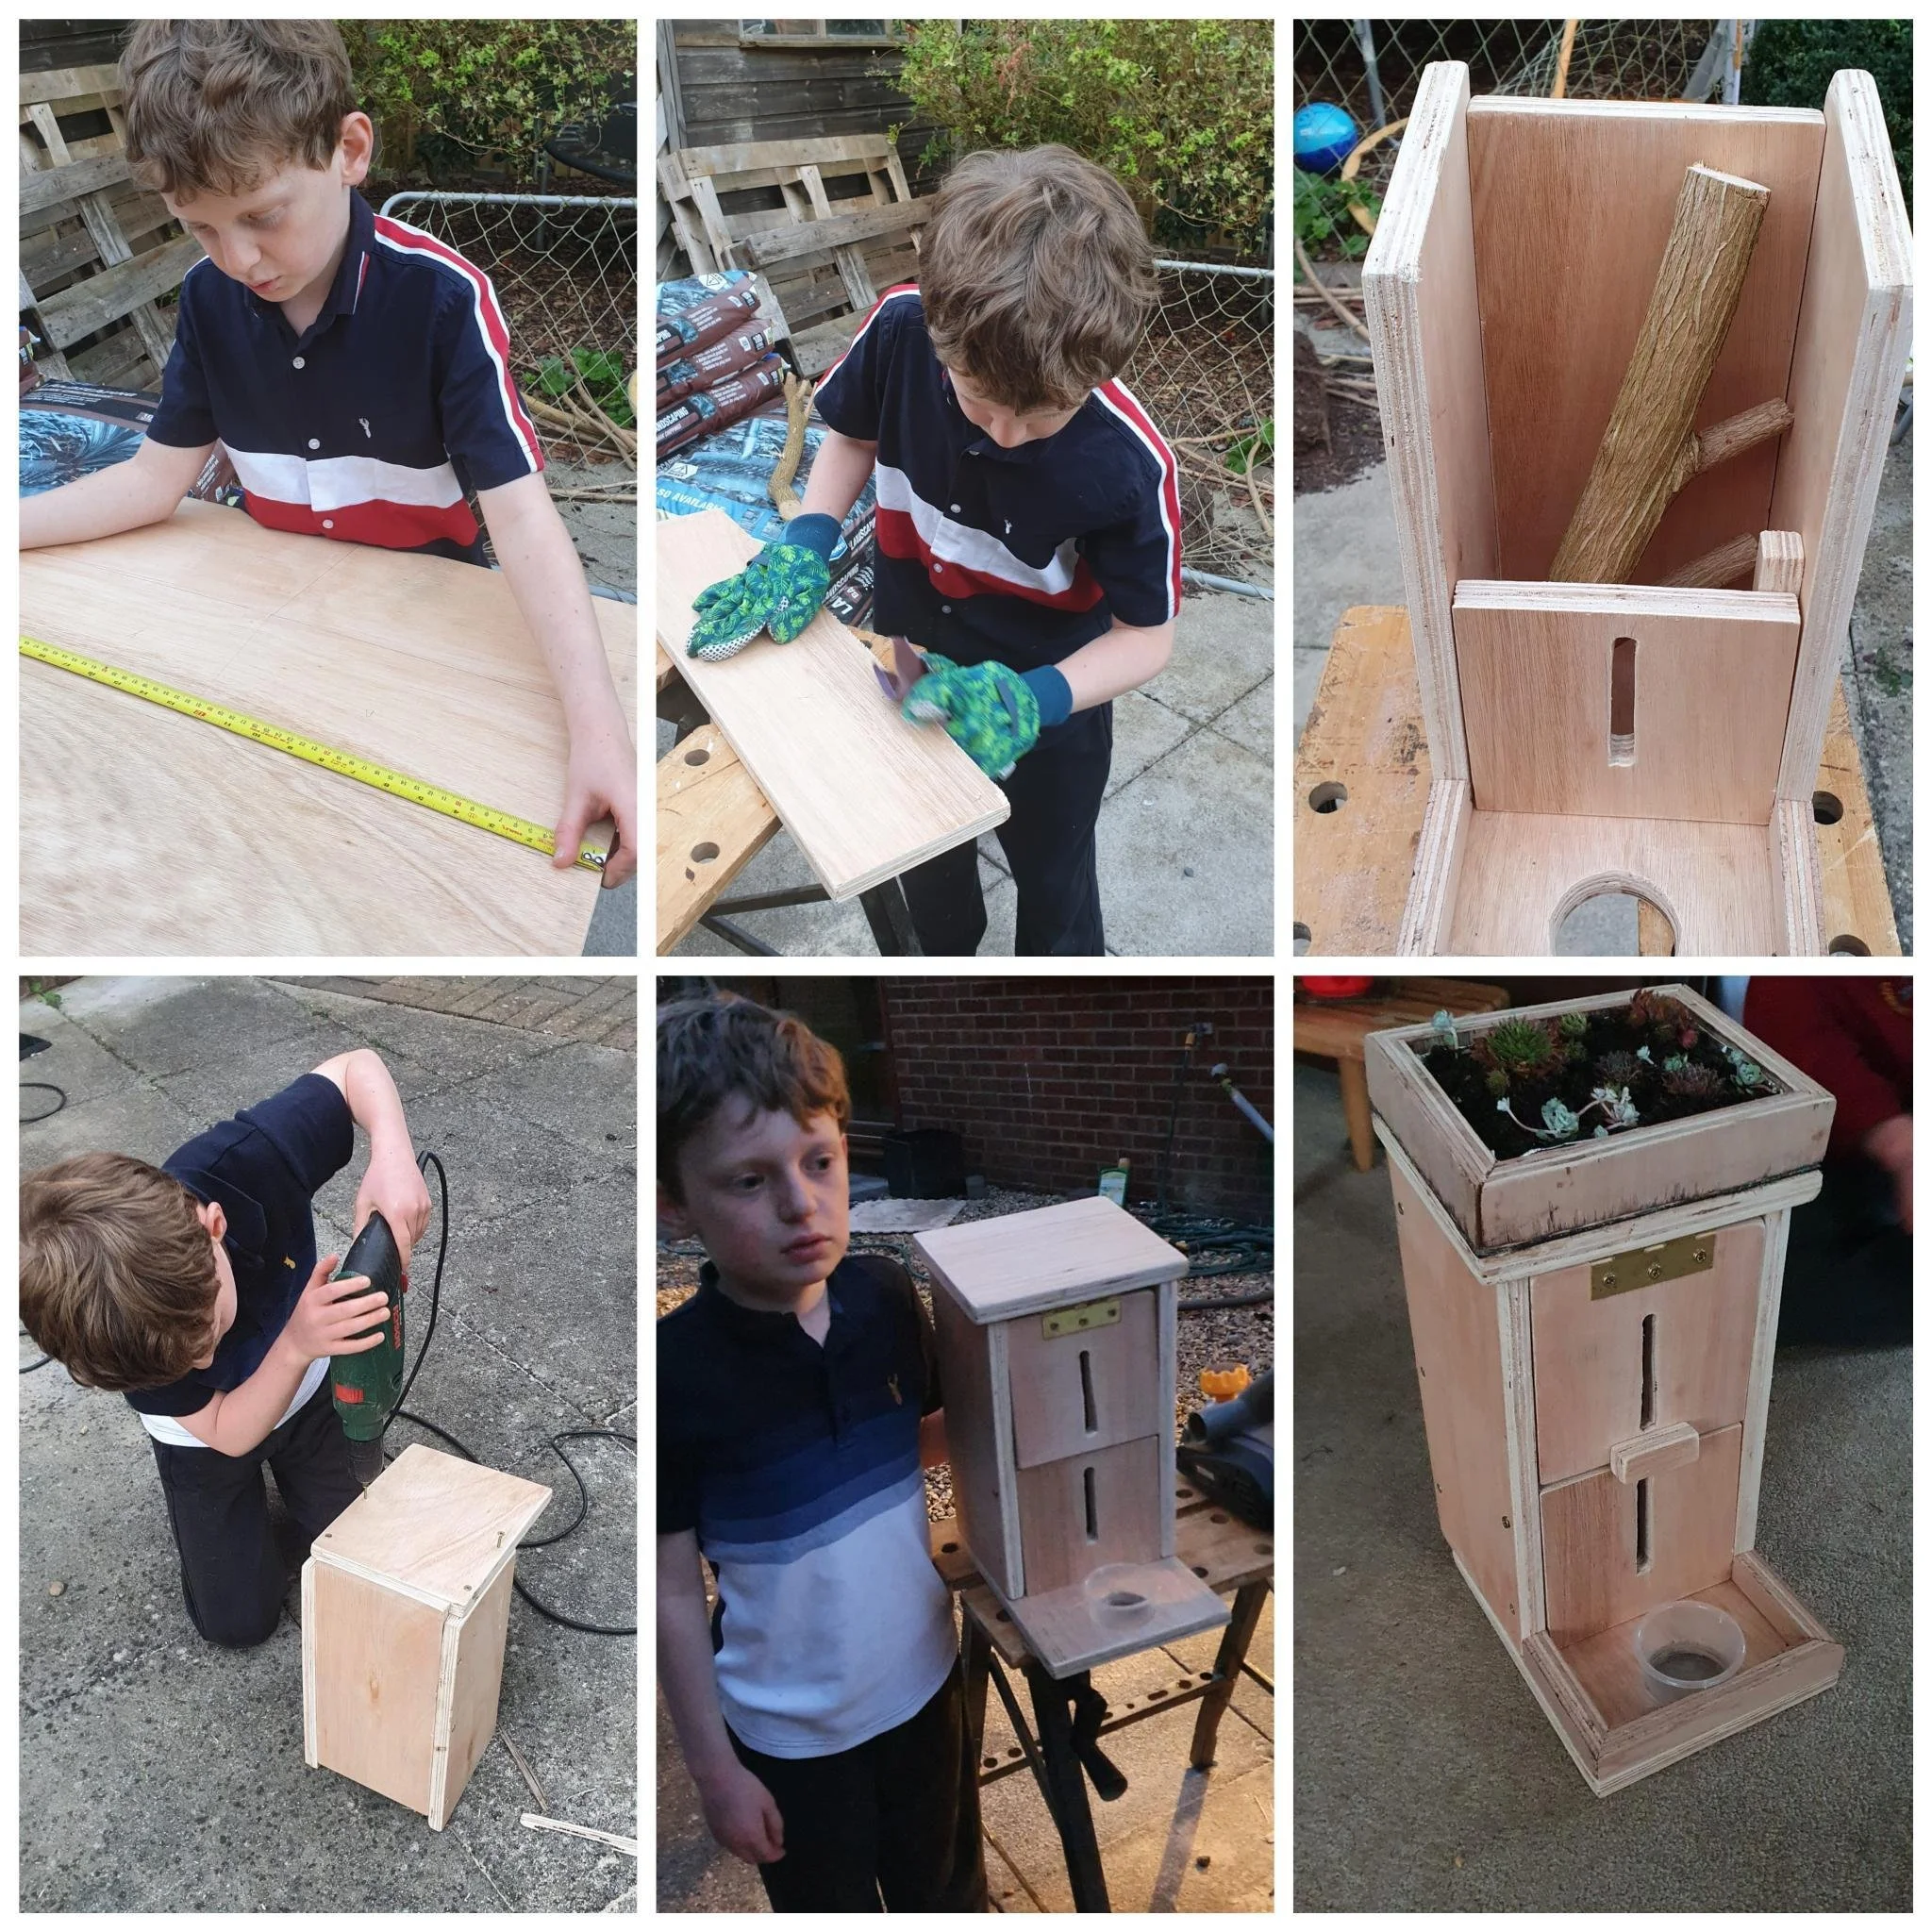
Butterfly House
Young designer Daniel worked with his dad to create this beautiful Butterfly House.
Please make sure you have a PARENT/GUARDIAN to supervise you while using ANY tools. Please do not try this project without a supervising adult.
Daniels Butterfly box has been made custom - but is based on a standard design which you can adapt. Instructions are credited to Wildlife Trust - more info HERE
What you'll need
Six pieces of untreated wood (any thickness up to about 20mm) cut to these dimensions:
Back - 670mm x 120mm
Front - 510mm x 120mm
Sides with slanted top edges - 555mm x 120mm (rear edge) and 510mm x 120mm (front edge)
Roof - 160mm x 120mm
Base - 120mm x 120mmA ruler or measuring tape
An electric jigsaw or handsaw
Protective gloves and goggles
A hammer and nails
A hand drill
A small tree branch or piece of bark
A small hinge
Galvanised screws and a screwdriver
Sandpaper.
How to make a butterfly house
Using a tape measure, carefully draw out the pieces of the butterfly house onto the wood and cut them out using a saw. Make sure you smooth down the edges with the sandpaper.
Draw six narrow slots onto the front piece of the house, approximately 10mm x 100mm.
Drill holes at each end of the slits and cut them out with your saw. Fold the sandpaper in half and use it to smooth down the inside of the slits.
Find a suitable branch or piece of bark to fix inside the house for the butterflies to land on. Fix it to the back or side panels with some screws.
Attach the roof piece to the top of the back panel using the hinge. Once complete, you can open and close the roof to clean or adjust the inside of the butterfly house, and add sugar water if you want.
Use the hammer and nails to pin the four side panels and base together.
Sand down any rough edges and your butterfly house is now complete and ready to go in the garden.

